Thursday, December 19, 2013

Chickens have arrived!

Howdy All,

We got our chickens finally! Here they are when they were small, and we first got them. We ordered them from Dare 2 Dream Farm, who (delivered!) us 6 chicks, a box, a water bottle, a food dispenser, food, and shavings for their bed. Unfortunately one was sick, and died a couple of days after we got them, but the company nicely replaced her for free!

We purchased:

2 Rhode island reds,
2 Easter Eggers,
2 Plymouth barred rocks


Here is a video we took of our chickens doing their thing: usually pooping, especially in their water bowl, which we have to clean out every 2 hours! (if you see nothing below, you can follow this link: Chicks!)


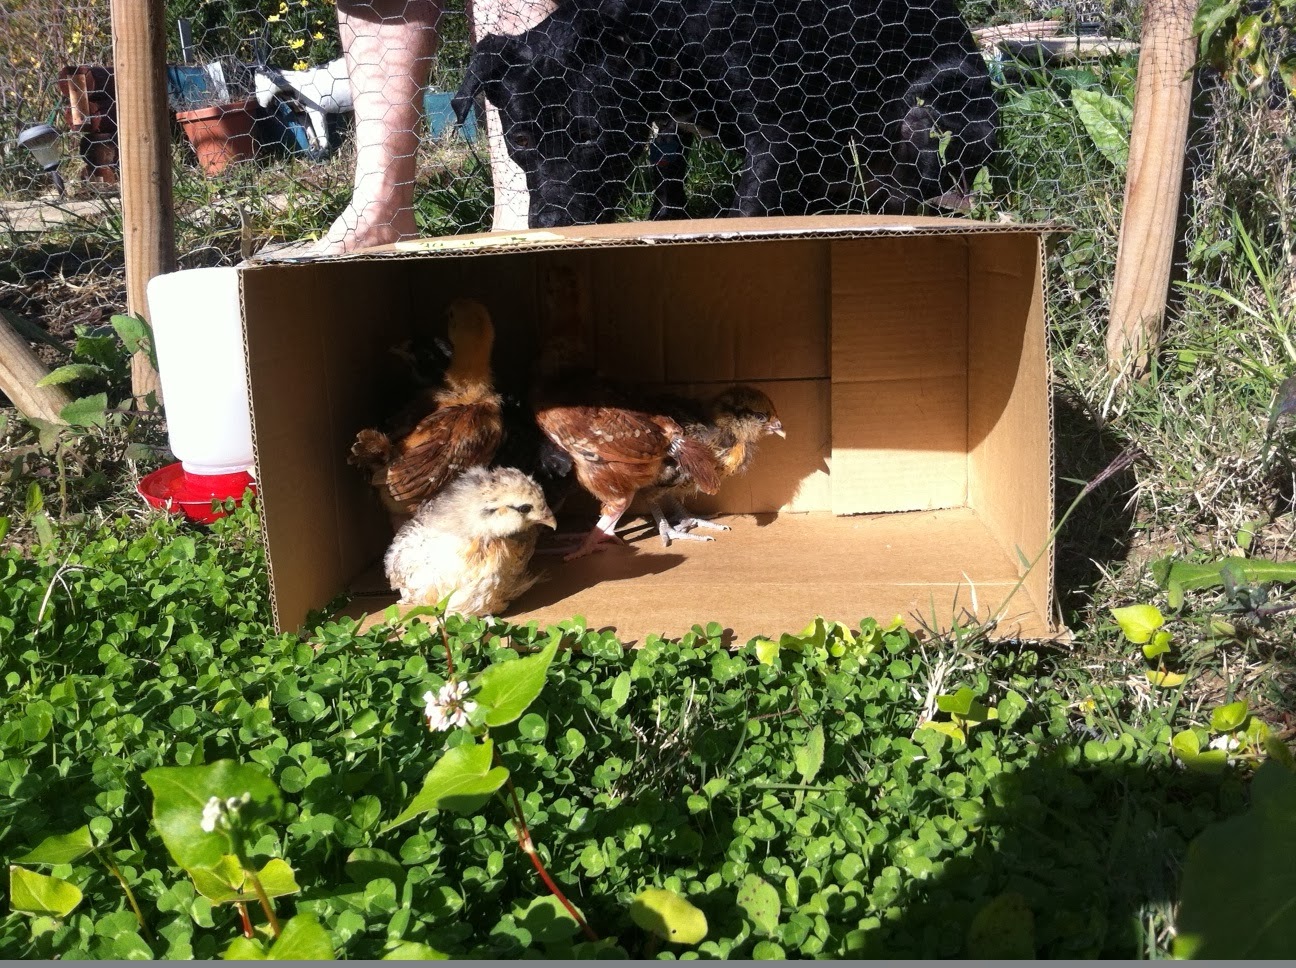
 Two weeks later, and our little chicks have gotten a lot bigger! We took them outside a couple of days ago, to let them see what the big wide world was like, but they didn't want to leave their box. We let them loose inside our enclosed veggie garden, thinking that they would be safe (which they weren't)!


Eventually we coaxed them out, and here they are, among the buckwheat and winter rye that we planted for the winter to revitalize the soil.


So cute! Poop my little darlings! Poop!


Flint is so curious about our little chicks, that he just loves to stare at them and lick his lips..... hmmmm. Eventually he snuck into the garden, and tried to either play (hopefully) or eat (unsuccessfully) the chickens! We caught him in time before he did any permanent damage to the chicks, other than psychological.


Hope you enjoy pictures of our chicks! We will update soon, as they get bigger!


 M & N


Saturday, December 7, 2013

Chicken Coop Construction Part 3


Howdy all!

Another (slightly late) update on our chicken coop! We mostly finished the inside of the coop, which is great since we got our chickens last week! We mostly buttoned up the coop so that little creatures can't get into the coop and raise havoc with our little darlings, who are still too young for the coop, and are comfortably napping under their heat lamp in my office : )

The chicken's opening into the yet unbuilt chicken run. Here you can see the track that will hold the sliding door, which we will close in the evenings to protect our little egg makers.

The sliding door in its track way. The green wire is what will open/ close the door.
The door way in it's track. The two pieces of wood are two halves of a 2 x 8 that I cut in half, left over from an old bunkbed I made.
The green wire runs through a pulley at the top of the coop and then runs through a hole in the side to allow easy opening/ closing.
The finished door! I tried to get the entire system in one photograph, but the coop is too small !
The end of the green wire, in the closed position. When we finish the run, this will be on the outside.
The green wire in the open position. It works like a charm! 
We also added the plexi glass to our custom chicken shaped window. The little circle you see in the middle isn't a hole, it is a reflection of the flash off the glass. We secured this with little penny nails, the same way you would with a picture frame.

We also placed screens over the vent holes for the coop. The mesh you see was left over from another project, and is a nice heavy weight, fine mesh.


The wire mesh installed inside the chicken coop. I secured it to the coop with nails on the bottom and sides, but did not use any nails into the roof, because I didn't want to puncture our nice little roof. I will (eventually) attach this to the roof with some high strength epoxy.


The chicken coop as it looks today! Still need to add the trim around the corners, which will cover the edges of the chicken wire we will be using for the chicken run.